Here are some simple tips to go along with the video. Feel free to ask questions for clarification!
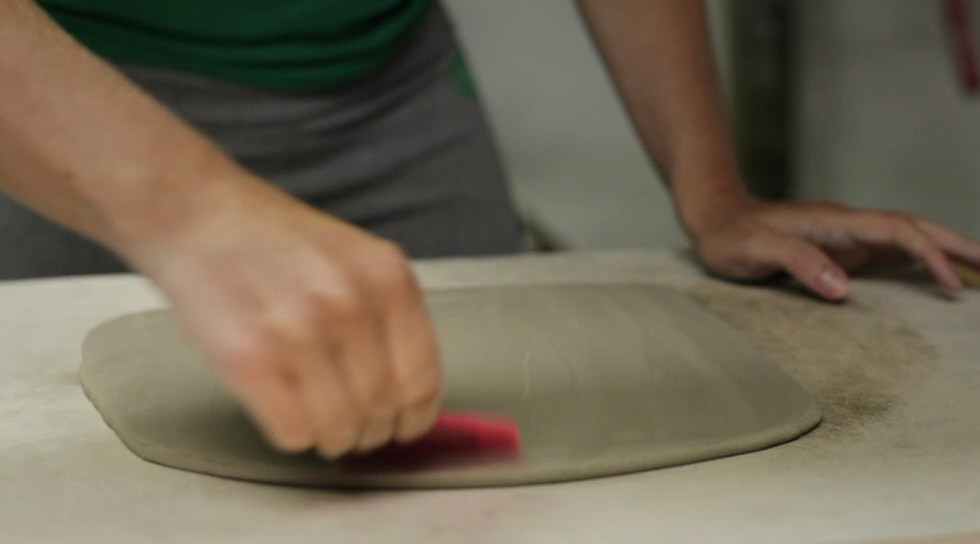
It is important to compress your slab before texturing. This step also smoothes the surface so that the impressed textures show cleanly.
Using a large piece of paper below your slab allows you to slide it onto a bat without bending the clay. This will help avoid warping as the clay dries.

I create my own unique textures by carving patterns into a printmaking block. You can find linoblocks and gouging tools at most art stores.

You can use any type of circle template. This is a needle point frame I picked up at a craft shop. Using a hollow template is beneficial so you can see the pattern as you arrange it in a pleasing way.

When the slab is leatherhard, use a drill bit a size larger than the bolt in the clock mechanism. This will allow the clock part to fit after the clay shrinks through the firing process. Don`t worry if it is slightly too large since a washer is included with the mechanism to cover the hole upon installation.

Rasp the edges of the slab to clean any burrs that were left from cutting with the pintool. This will also create a sharper 90 degree edge.

Choose a glaze that accentuates the relief textures. My Waterlily glaze is formulated to puddle a smoky blue color in the recesses of the texture. Remember to glaze the side edge to create a professional finish.

Clock parts can be found online or at many craft stores. Ensure that the centre bolt is tall enough to fit the thickness of your slab. Most mechanisms have a built in hanger or come with a hanger attachment piece so the clock can hang easily from a nail.

11 comments:
saw this on etsy's blog and loved it. thanks so much for sharing your creative process. it's so wonderful being able to peak into another person's work space & such.
found you through etsy's blog too, just loved seeing you work and transforming a piece of clay to a gorgeous clock!
Loved the demonstration, thanks. What color and type of glaze is that? I love the two tone effect.
I watched your video on Etsy's blog too! Your clock is lovely and I thought the video was brilliant, especially the way you introduced the tools at the end. It was very interesting and easy to follow! :)
Thanks everyone! I make my own glazes from scratch and have a super cool "gas mask" that I wear when working with the chemicals. The combination of Rutile and cobalt and/ or copper give my work that runny two tone look that I strive for :)
Found you through your clock on etsy and I'm in awe. In the video it looks easy - peasy but I guess it isn't :)
Great works!
Hi I stumbled upon your Clock demo, really cool.
Might i ask how thick is the clay?...It looks like stoneware or you make your own?
Any more tips to stop it warping...looks very professional...Thanks
The thickness of the clay depends on the height of your clock mechanism. Mine are about 5/16. I handle them the least amount possible and dry them covered in plastic for 24 hours min. to reduce warping. Also, don't cut the centre hole until it is leather hard or the handling in soft stage will warp it. Hope this helps ;)
Hello,
I am going to have my high school ceramic students create clocks this year. Thank you for making the video. Thank you for the answer to Tom's questions, I was wondering some of the same things. One more question- what is the size of the hole and how important is getting the right size when placing the mechanism in? With the shrinking factor of clay, I was worried about that. A student might place a hole that looks ok then shrinks and they can't get the mechanism in there. Thanks.
Maureen
Good question Maureen! There is a bit of wiggle room if you have a washer that comes with your mechanism. I tend to make the holes a bit bigger to be safe. The washer covers any gap created and the clock mechanism tightens the face securely even with a slightly bigger hole. The hole is pretty important if you want a functioning clock ;)
The size of the hole depends on the mechanism. I use a drill bit 3/8 for mine.
Post a Comment